

Proper Hand Placement for CPR: A Lifesaving Guide
When someone’s heart gives out, the clock starts ticking. Fast. Knowing the proper hand placement for CPR isn't just a small detail—it's the single most important factor in making your compressions count.
Get the placement right, and you're actively pumping blood to the brain and other vital organs. You're turning a moment of sheer panic into a series of life-saving actions. This guide will help you understand exactly where your hands need to go, step-by-step, so you can act with confidence when it truly matters.
Why Your Hand Position Is So Critical
In an emergency, it's completely normal to hesitate. The biggest fear most people have is, "What if I do it wrong?" We’re here to get rid of that fear by showing you the correct technique.
Here's a fact that should stick with you: effective CPR can double or even triple a person's chance of surviving a cardiac arrest. But all of that potential hinges on high-quality chest compressions, and that starts with perfect hand placement.
Think of it this way: your hands are the engine of the pump. The victim's breastbone (the sternum) is the lever. If your hands are too high, too low, or off to one side, you're just not generating the force needed to move blood where it needs to go.
The Dangers of Getting It Wrong
Placing your hands incorrectly doesn't just make your efforts less effective; it can actually cause harm.
- Wasted Effort: If your hands are too high up on the chest or near the collarbone, you're not compressing the heart. All that work, and no blood is moving.
- Serious Injury: Positioning your hands too low—down on the abdomen—can damage internal organs like the liver or spleen.
- Broken Ribs: Look, rib fractures can happen even with perfect CPR. But placing your hands directly on the ribs instead of the flat, strong sternum makes that risk much, much higher.
The entire point of CPR is to maximize blood flow to the brain and keep vital organs alive. Nailing your hand placement on the center of the chest is the first and most crucial step to making that happen.
Mastering this one skill is absolutely fundamental. The great news is, you don't have to sit in a stuffy classroom anymore. Modern, accredited online training is just as effective as in-person classes, giving you a flexible and accessible way to learn these life-saving skills.
Mastering Hand Placement for Adult CPR
When you're performing CPR on an adult, "about the center of the chest" isn't good enough. In a high-stress emergency, you need a precise mental map. The target is the center of the chest, right on the breastbone, which is also known as the sternum.
A simple, reliable way to find this spot is to visualize a line running between the person's nipples. You'll place your hands on the lower half of the sternum, right on top of this imaginary line. This landmarking technique is your best bet for avoiding a position that's too high or too low, which can make your compressions less effective.
How It Works: The Right Technique
Once you've zeroed in on the location, the next few seconds are all about setting up your hands for powerful, effective compressions.
Here's the sequence we teach:
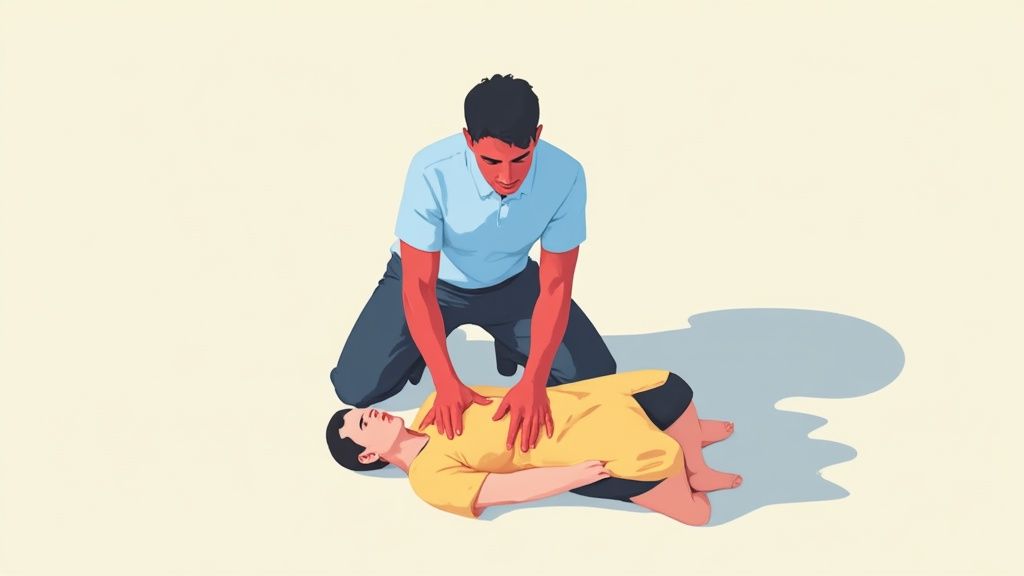
- First, plant the heel of one hand directly on that spot on the lower half of the breastbone. The heel is the strongest part of your hand, and it's perfect for delivering direct force.
- Next, stack your other hand right on top of the first one.
- Finally, interlock your fingers and pull them up and away from the chest. This is a critical detail. It stabilizes your hands, prevents slipping, and ensures all the pressure is focused through the heels of your hands, not your fingers.
Using Your Body Weight Effectively
With your hands locked in, it's time to use your body to your advantage. Straighten your arms and lock your elbows. Now, lean forward and position your shoulders directly over your hands.
This alignment is the secret to powerful, sustainable CPR. It allows you to use your entire upper body weight for each compression, not just your arm muscles. Trust me, you'll tire out much slower this way, which is crucial for maintaining the right depth and rate until help arrives.
For a deeper dive into the specifics of how hard and fast to push, check out our guide on chest compressions 101: how deep and at what rate.
This simple process flow chart visualizes why each step—from a stopped heart to correct hand placement—is essential for restoring blood flow.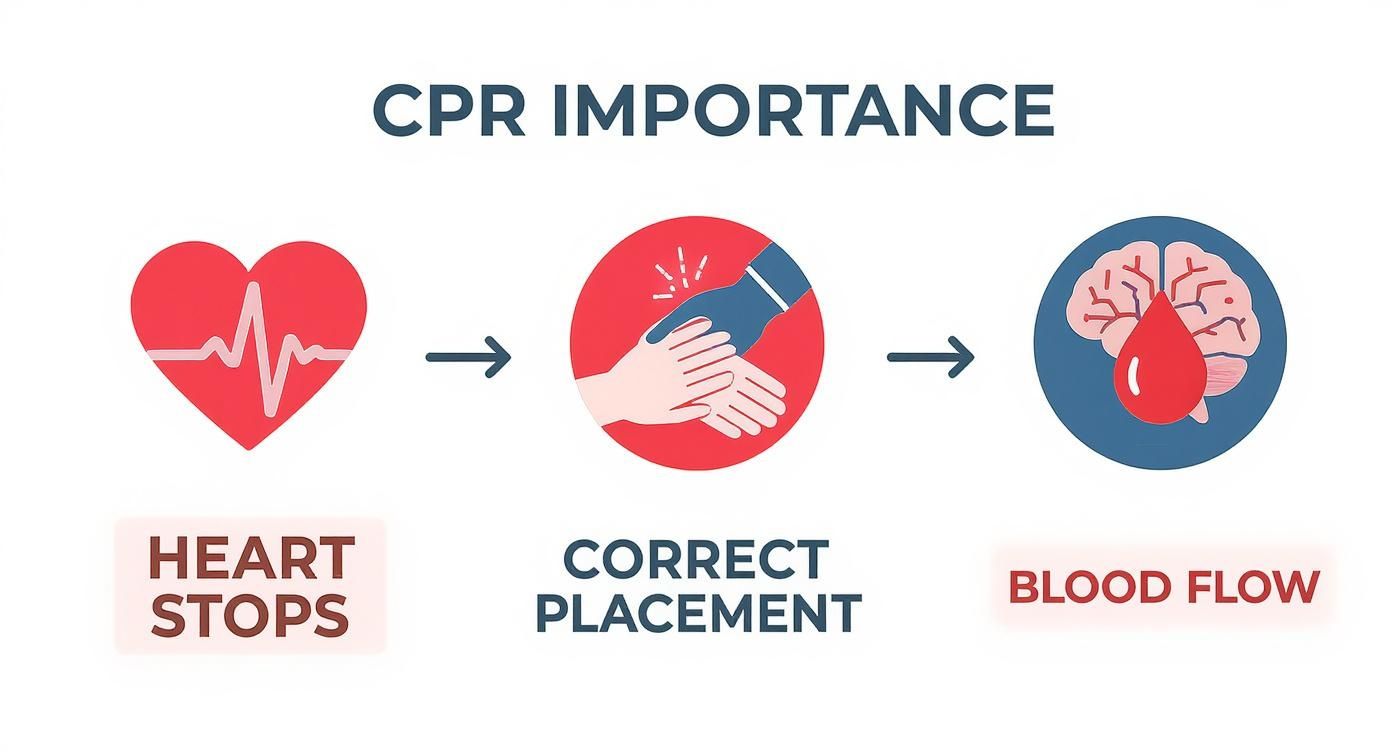
As the infographic shows, getting your hands in the right place is the critical link between the emergency and a positive outcome. It directly impacts blood flow to the brain and other vital organs.
Here's a quick checklist to help you remember the key steps for proper adult CPR hand placement.
Adult CPR Hand Placement Checklist
Getting this right, even under pressure, makes all the difference.
You might be surprised to learn that even trained professionals can struggle with perfect placement. Hand position often shifts during the rapid rhythm of compressions. This just goes to show why consistent practice and clear, accessible training are so vital for everyone.
How to Adapt Hand Placement for Children and Infants
It's a common misconception that performing CPR on a child is just a scaled-down version of adult CPR. The truth is, children and infants aren't just small adults. Their bodies are far more fragile, and the standard techniques can do more harm than good. Getting your hand placement and force right is absolutely critical.
For a child, you're still aiming for the lower half of the breastbone, but how you apply pressure changes dramatically. Depending on how big the child is, you might need to ditch the two-hand technique and use just one. The goal is always the same—get deep enough compressions—but the method has to be tailored to their smaller, more delicate frame.
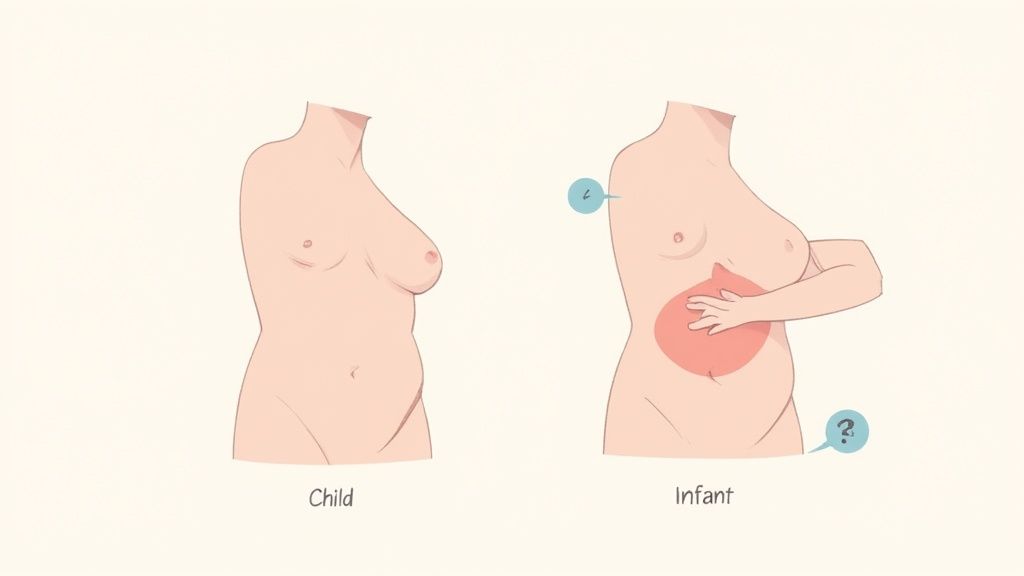
Infant CPR: A Completely Different Technique
When you're dealing with an infant (anyone under one year old), the rulebook gets a major rewrite. Forget using the heel of your hand; for an infant, you'll use just two fingers.
- If you're the only rescuer: Place your index and middle fingers right in the center of the baby's chest, just below the nipple line.
- If you have two rescuers: The two-thumb encircling technique is the gold standard. One person wraps their hands around the infant’s torso, using both thumbs to press on the chest in the same spot. This method is preferred because it generally leads to better quality and more consistent compression depth.
These specialized skills are a core part of any good Pediatric Advanced Life Support (PALS) or Basic Life Support (BLS) training. It's one thing to read about it, but another thing entirely to build the muscle memory and confidence to act in a real emergency.
Why Technique Matters in Pediatric CPR
The small details—like using one hand versus two, or fingers versus thumbs—aren't just suggestions; they're backed by hard data. Clinical studies have shown just how much compression quality can vary based on the technique you use.
For instance, one study found that when performing CPR on children between 5 and 8 years old, using two hands hit the target compression rate guidelines 86% of the time. When rescuers used only one hand, that number plummeted to just 42%. For a full walkthrough of the CPR sequence, our guide on the pediatric BLS algorithm for one rescuer breaks down every step.
But it gets even more concerning when you look at compression depth. In that same study, two-handed compressions achieved proper depth 16% of the time, which is already low. The one-handed method? 0%. That's a sobering statistic that really drives home how crucial it is to choose the right technique for your patient's size and age.
Common Hand Placement Mistakes to Avoid
Knowing what to do in an emergency is one thing, but understanding what not to do is just as critical for effective CPR. Even with the best intentions, a few common slip-ups can make your compressions less effective or, worse, cause harm.
Getting the proper hand placement for CPR right from the start means steering clear of these crucial errors.
One of the most frequent and dangerous mistakes we see is placing the hands too low on the chest, down toward the abdomen. This can put direct pressure on internal organs like the liver or spleen, leading to serious internal injuries. On the flip side, if you place your hands too high up near the collarbone, you're not actually compressing the heart, making your efforts completely useless.
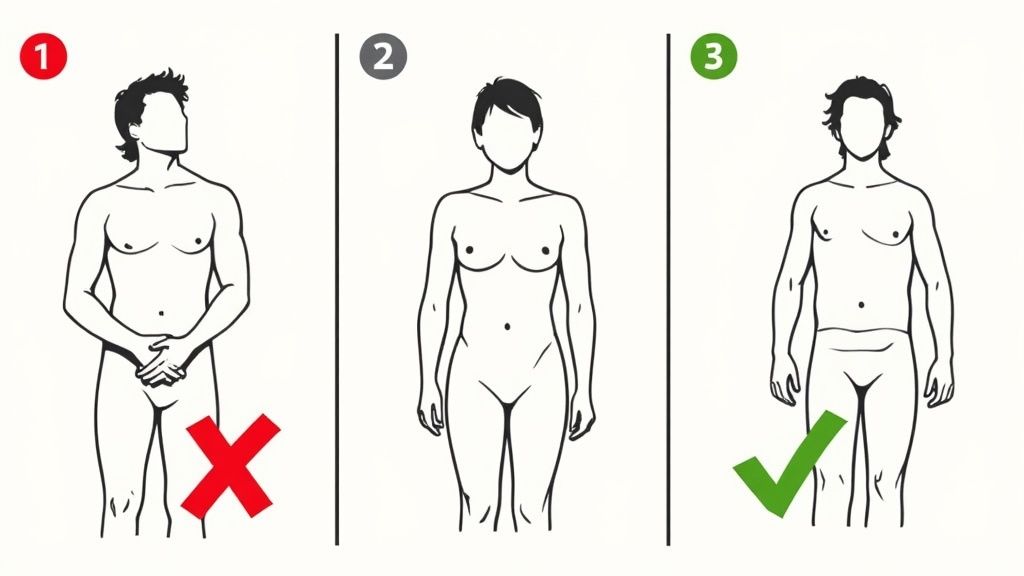
Poor Posture and Bent Elbows
Another all-too-common error is bending your elbows and trying to muscle through the compressions using only your arm strength. This is a fast track to exhaustion. Your compressions will get shallow and weak long before help has a chance to arrive.
The real key is to use your body weight, not just your arms. It’s a much more powerful and sustainable approach.
Here's how to get your posture right:
- Lock your elbows: Your arms should be completely straight, from your shoulders all the way down to your wrists.
- Position your shoulders: Make sure your shoulders are lined up directly over your hands.
- Pivot from your hips: Use a steady rocking motion, letting your upper body weight do the heavy lifting.
This technique ensures you can deliver deep, powerful compressions again and again without quickly tiring out.
The most critical mistakes in CPR often happen before the first compression even begins. Incorrect hand placement and poor body mechanics can waste precious time and energy when every single second is vital.
Why Online Training Builds Better Habits
Recognizing and avoiding these pitfalls is a cornerstone of any quality CPR training. This is where modern, accredited online certification programs really prove their worth. The outdated belief that only in-person classes from organizations like the AHA or the American Red Cross are valid is simply not true anymore.
The healthcare industry is steadily embracing high-quality online education, as numerous peer-reviewed studies confirm its effectiveness for knowledge retention and patient care outcomes is equal, or even superior, to traditional formats.
Platforms like ProMed Certifications are at the forefront of this change, delivering detailed, accessible training that helps you build crucial muscle memory. Our future-focused courses highlight these common mistakes to prepare you to avoid them, turning potential errors into moments of life-saving action.
Why Modern Training and Certification Matter
Formal training does more than just teach you the steps; it builds the confidence you need to act decisively in an emergency. Thankfully, the world of CPR education is more accessible than it has ever been.
There’s an outdated belief that only in-person classes from specific organizations like the AHA or American Red Cross are valid. That’s simply no longer true.
The healthcare industry has evolved, and accredited online certifications are gaining widespread acceptance among hospitals, clinics, and professional organizations. This shift isn't just about convenience—it's backed by numerous peer-reviewed studies and industry articles confirming that online learning is highly effective for both retaining knowledge and applying skills. For busy professionals, the flexibility, cost savings, and time efficiency are game-changers.
The Growing Acceptance of Online Education
This move toward digital-first education is also addressing a critical public health need. On a global scale, the number of people trained in CPR is alarmingly low. Most bystanders are unprepared to perform CPR or even know the proper hand placement for cpr.
Improving access to quality training is vital, especially since early, high-quality CPR can double or even triple survival rates. As the educational landscape changes, innovations like AI tools for better healthcare training are poised to make CPR courses even more impactful and effective.
Accessible and flexible online courses from providers like ProMed Certifications put these lifesaving skills within everyone’s reach. By removing barriers like time, cost, and location, we’re helping to ensure more people are prepared to respond effectively in an emergency.
If you're ready to take the next step, our guide on how to get certified in CPR can walk you through the entire process.
Got Questions About Your Hand Placement?
We've walked through the fundamentals of getting your hands in the right spot for CPR, but it's totally normal to have a few questions pop up. Let's tackle some of the most common ones we hear from students. Think of this as a quick final check-in to boost your confidence.
Does It Matter Which Hand Is on the Bottom?
Nope, it really doesn't. You can put whichever hand you prefer on the bottom for adult CPR. Most people naturally use their dominant hand for the base, but as long as the heel of your hand is correctly positioned on the lower half of the sternum, the compressions will be just as effective.
Go with what feels most stable and comfortable for you.
What If My Hand Placement Is a Little Off?
Look, precision is great, but speed is what saves lives here. It's far more critical to start chest compressions immediately than to waste precious seconds trying to find the absolute perfect spot.
If your hands are slightly off-center but still on the sternum, your compressions can still do the job. The real danger comes from being way too high, too low, or completely off the breastbone.
Should I Stop Compressions to Check My Placement?
Absolutely not. Do not interrupt chest compressions just to double-check where your hands are. The single most important part of CPR is keeping those compressions going without a pause.
If you feel your hands slip, just make a quick adjustment during the natural recoil of the chest after a compression. You can slide them back into place without breaking that life-sustaining rhythm.
Nailing these details is what turns textbook knowledge into confident, life-saving action. At ProMed Certifications, we specialize in accredited, online courses designed for busy healthcare professionals like you. Get certified on your own schedule and be ready for any emergency that comes your way. Explore our certifications today.
.avif)
Stay compliant with ProMed+
Certifications included: ACLS, BLS, PALS, CPR & Neonatal Resuscitation
Unlimited continuing education: over 200 hours of accredited CME
All-inclusive: One price. No surprises.
Get certified today
The Advanced Cardiac Life Support (ACLS) is an accredited online medical certification course that teaches medical professionals to respond to nearly all cardiopulmonary emergencies.
The Pediatric Advanced Life Support (PALS) Recertification instructs medical professionals on performing pediatric cardiopulmonary resuscitation in emergencies.
The Basic Life Support (BLS) Recertification is intended to teach healthcare professionals the basic steps of CPR and rescue breathing for adults, children, and infants.
Our online medical certification course for CPR, Automated External Defibrillator (AED), and First Aid is designed to teach adult, child, and infant CPR and AED use.
The Neonatal Resuscitation Certification trains medical professionals in performing resuscitation procedures and life-saving techniques for newborns at the time of delivery.

.png)
.png)